
In my last post, I ended by saying I had chosen Lightroom Classic and Topaz Photo AI for my post-production needs. It didn’t take long for me to realize that Lightroom Classic’s new Denoise feature made that a bad choice, for me.
After a bit more reading and some deeper thought, it became clear to me that the right time to apply any denoise algorithm is very early in the process so that you don’t end up adding any effects to the noise. And that you want to keep the image in a RAW format for as long as possible so as to maintain access to the most image information at each step of the process.
With Photo AI, applying its denoise abilities early means one of two things. Either you have Lightroom convert your RAW image into a TIFF for Photo AI to process or you let Photo AI handle the decoding of the RAW image and work with the resulting DNG file. Both options are bad.
Converting to TIFF that early robs your process of the non-destructive, RAW file-based approach that Lightroom was designed for. Letting Photo AI do the image conversion removes Adobe’s ACR technology from the workflow and replaces it with the LibRaw open-source library for conversion. I trust Adobe to do the best job on RAW decoding (with the possible exemption of Capture One).
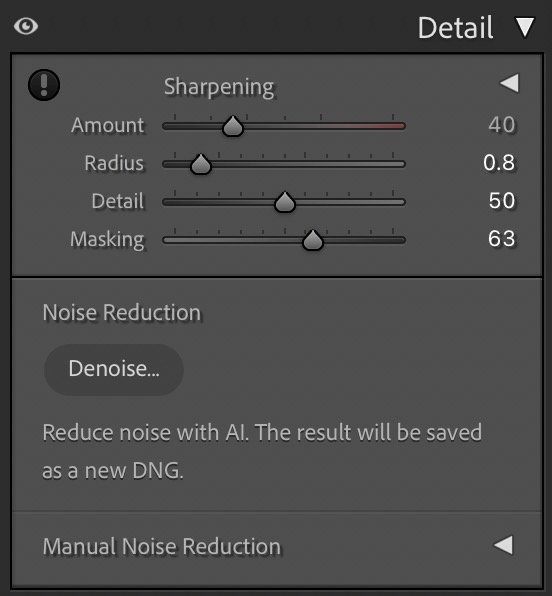
So, to sum up this short post, I find that using Lightroom’s Denoise option as the first step in processing a noisy image gets me a very clean starting point for more work. Adding a bit of global sharpening, with careful attention to the masking slider, gets me very good results without risking the occasional sharpening artifacts induced by Photo AI (or any AI based sharpening algorithm, really).
I end up, after denoise and sharpening corrections, with a RAW file retaining all its image information still in Lightroom’s internal wide-gamut color space and the ability to continue with a non-destructive workflow.
Leave a Reply